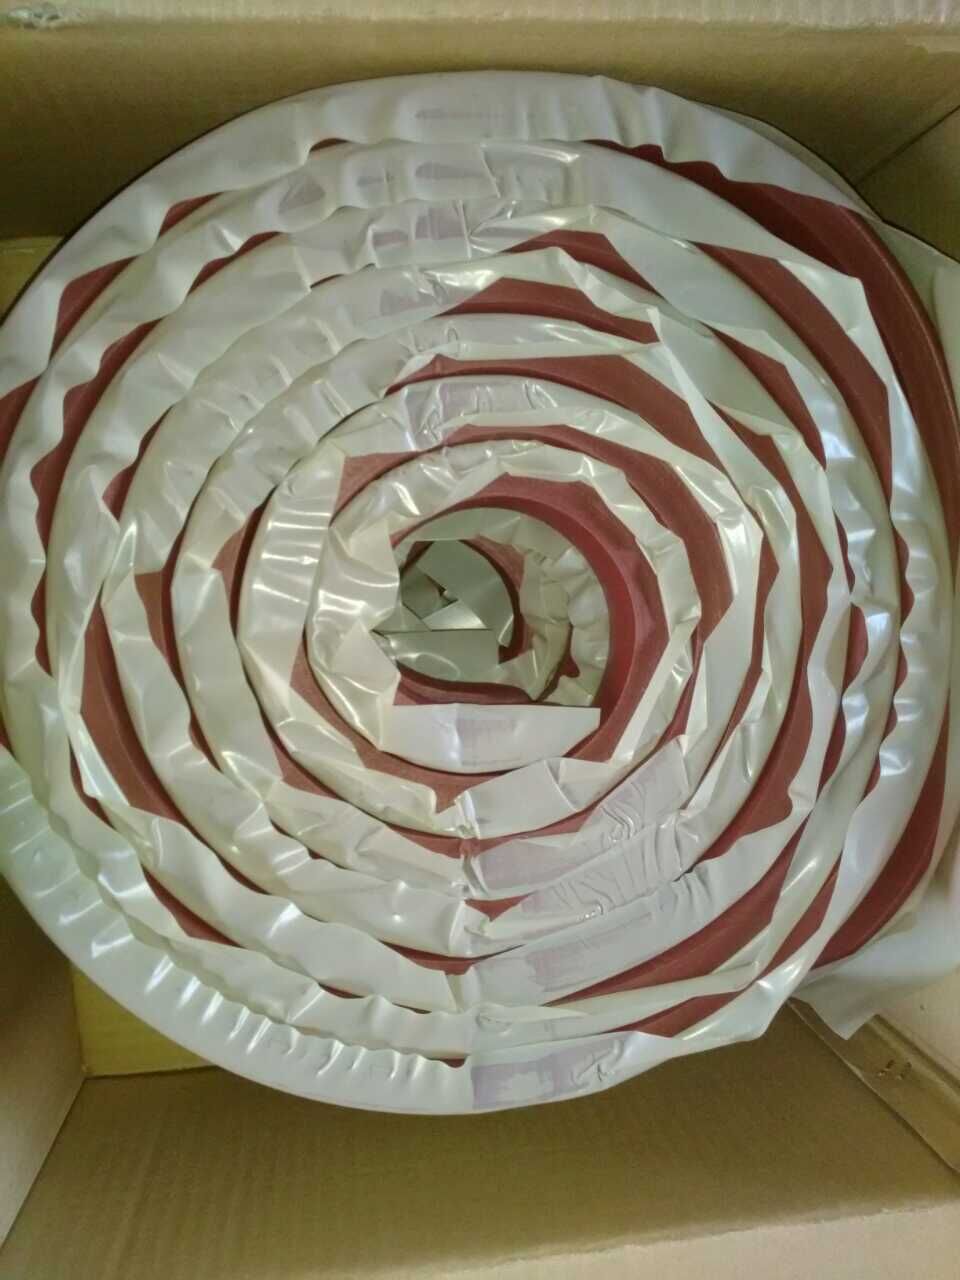
1. Make sure the place of strip waterstops is not taken by surrounding reinforcing bars.
2. Check the strip waterstop for any defects and cracks.
3. Clean the joints of oil, grease, dust, dirts and construction debris of concrete surface. If there are some cracks on concrete surface, don’t forget to repair them before the installation of strip waterstops.
Installation
1. After the preparation, brush the dry surface of concrete with primer adhesive and make sure they are applied about 2” wide continuously along the joints.
2. Wait for ten to fifteen minutes until the primer adhesive looks tacky.
3. Uncoil strip waterstop and place it into the joints as shown in the drawing. Then press it firmly to the coating of primer adhesive. If requested, concrete nails can be used to fasten the strips.
4. Use butt joint for jointing strip waterstops and make sure strip waterstops are attached to the surface of concrete firmly without separation, air pockets and overlaps left.
5. The second concrete pour should be 24 hours later after waterstop installation, check strip waterstops again for any discontinuity, debris or defects, and replace the defective part.
6. Remove the separation paper of strip waterstop, then start the second concrete pour and make sure there is no displacement occurred during the pour.
7. Vibrate concrete around strip waterstop to enhance the contact between concrete and strip waterstops.

